
How to create a visual positioning racetrack using photoshop & premier pro
The original goal I had was to have a kind of Gran Turismo-like race track positioning icon that I could animate as a rider goes around the track.
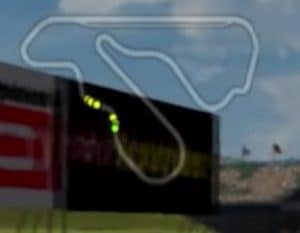
I looked into this, and it’s technically possible… but there are very few guides out there on showing how to do it. And it requires a working knowledge of Adobe After Effects, which I actually have through the Adobe Creative Cloud, however I have zero idea how to use it…. like zero.
So I figured I’d come up with a different but hopefully almost as clear way of showing it using Photoshop & Premier Pro instead.
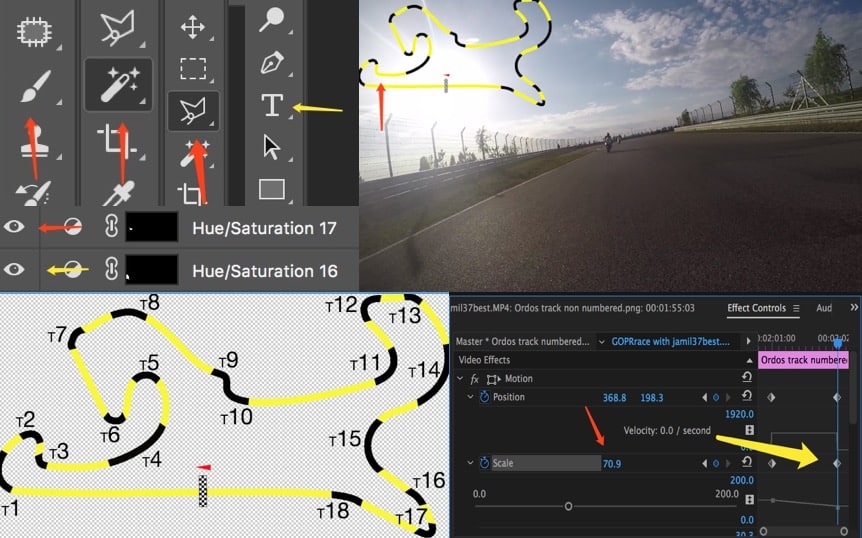
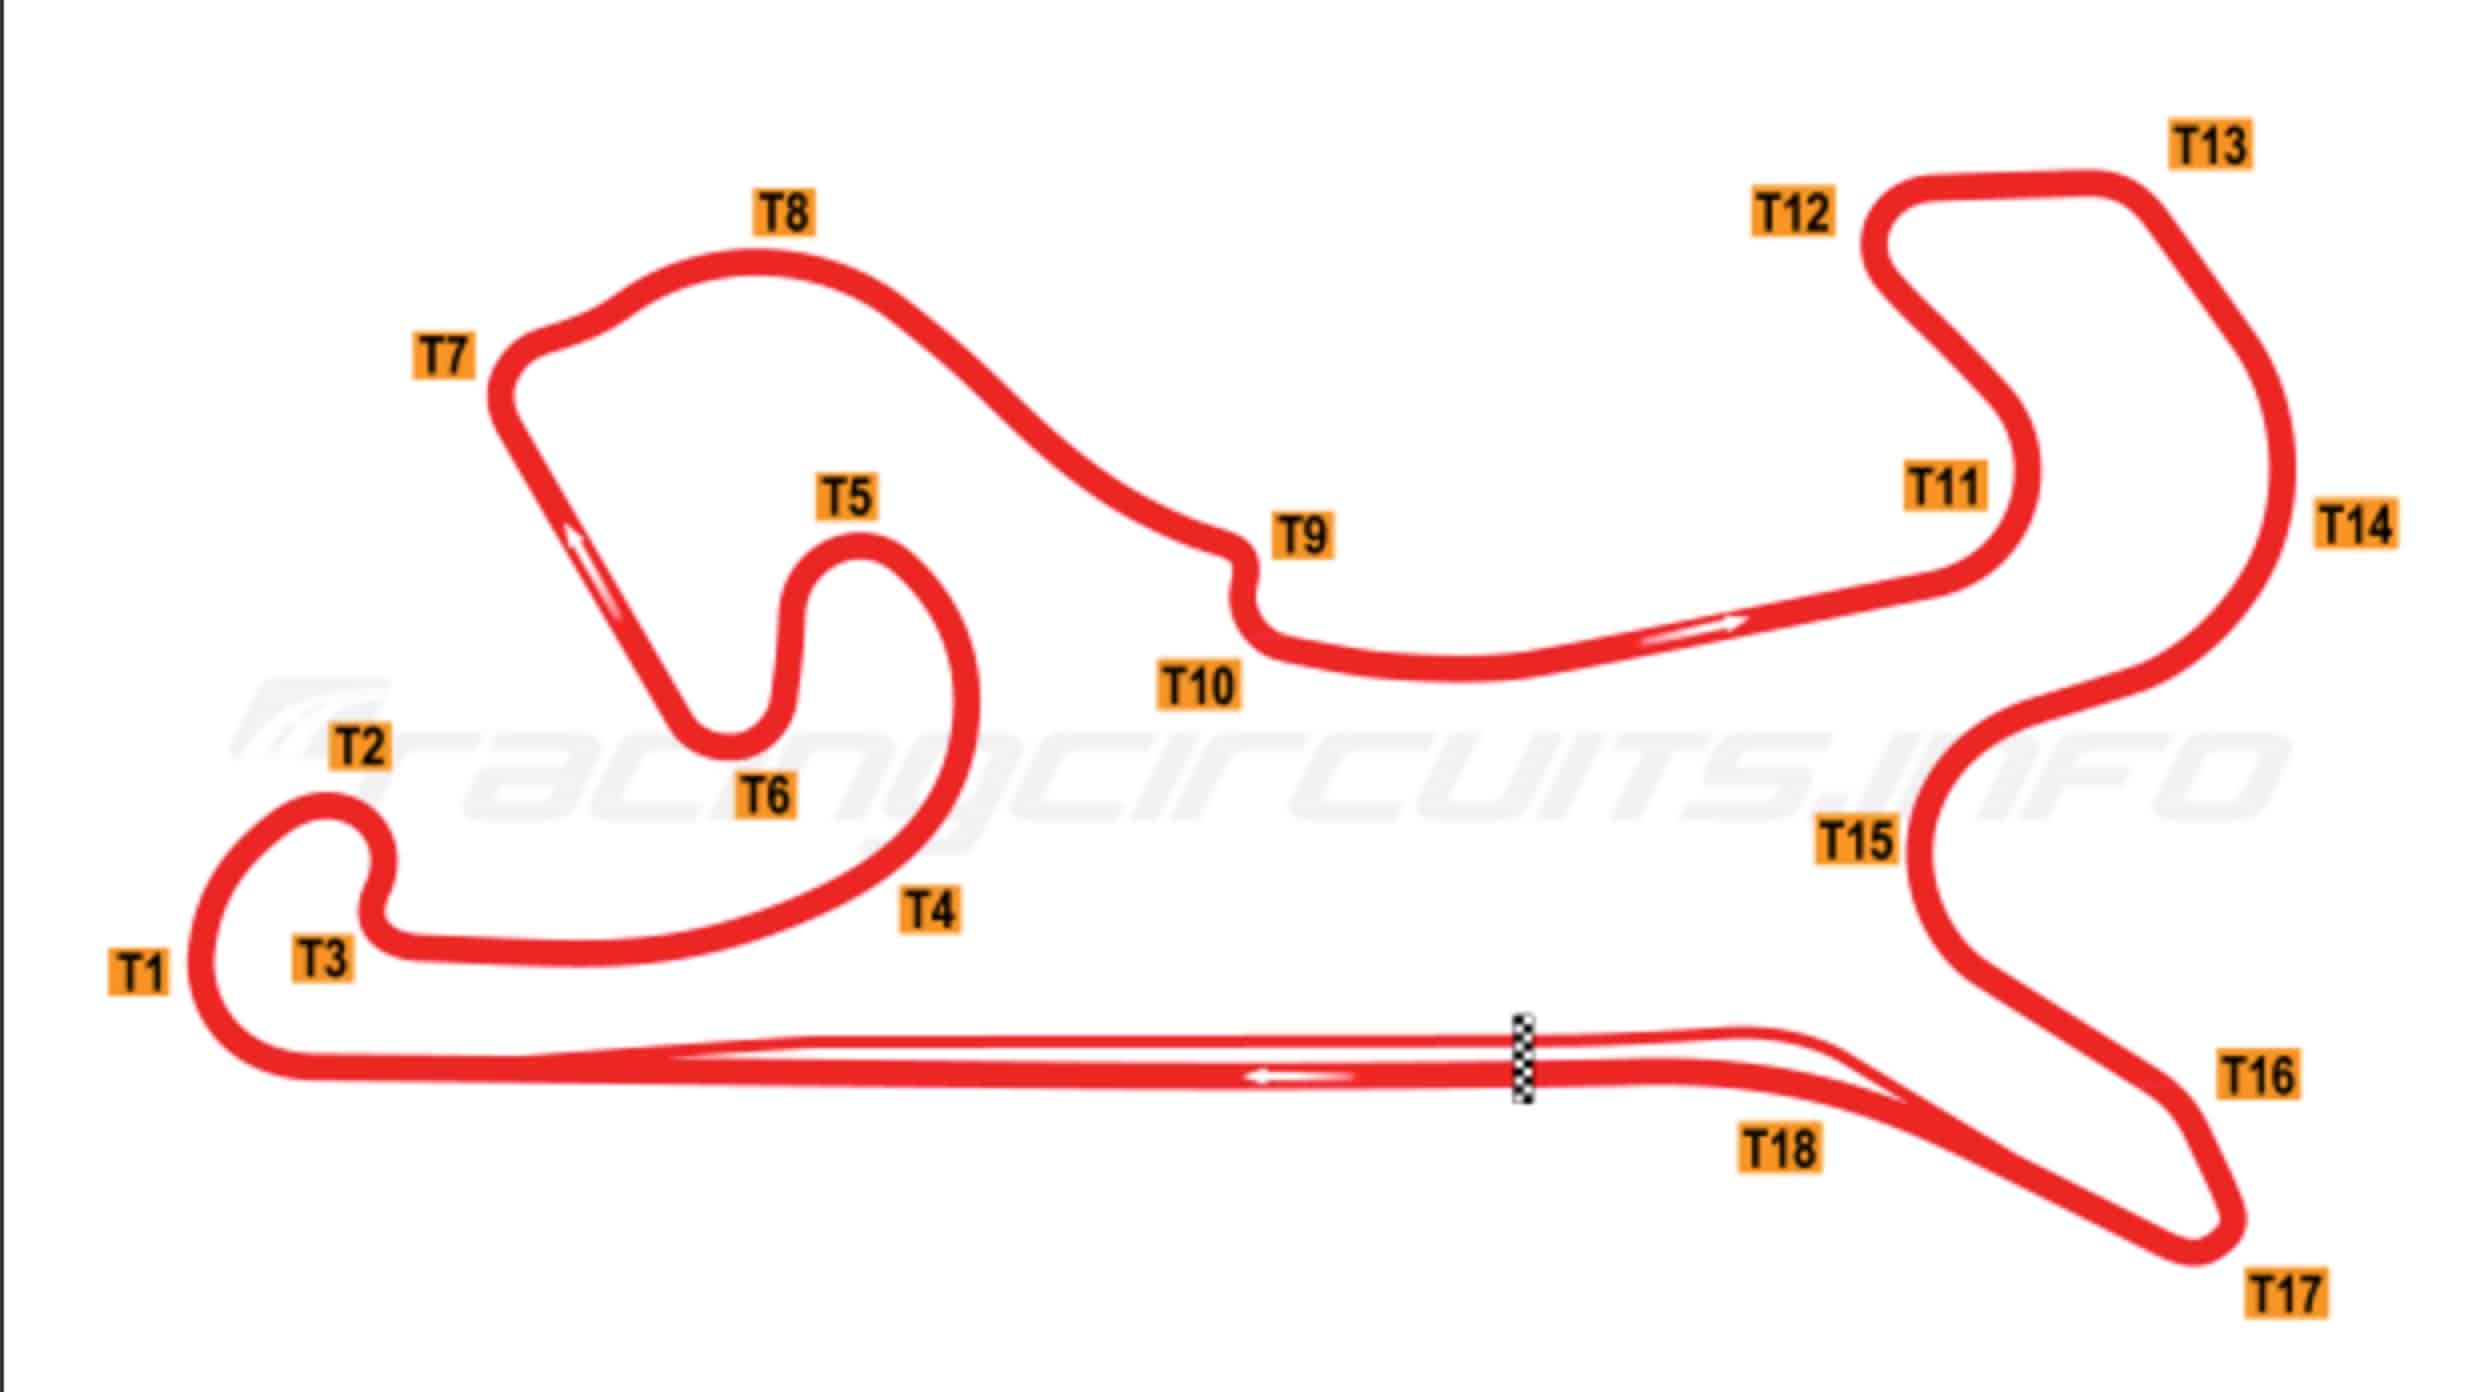
Essentially I am putting the racetrack (in this case Ordos International Racetrack, China) in the top left corner of the video, and then flashing certain ‘high-lighted’ segments to show which corner the riders are on at any one point in time.
I’ll list out the steps clearly here, and will be making a video about it soon-ish.
Step 1.
Find a .png image of the racetrack that you want to use, usually you can find this on Wikipedia.org
For instance. https://en.wikipedia.org/wiki/Ordos_International_Circuit
Don’t forget to copy & source the original creator.
The image that you find has to have a transparent background, .png is that kind of file
Step 2.
Open this file in Photoshop.
Select the magic wand icon 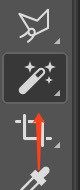 to select the entire black track,
and then the Paintbrush icon 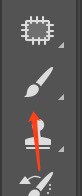
& select a colour that will show up easily on the background of your video.
I chose bright yellow, but bright green, orange, or even pink works equally as well.
Step 3.
-Select the Polygonal Lasso tool 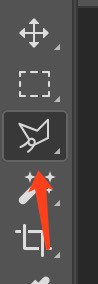 and start to map out your corners
-Once you have made a section to select the exact shape of your corner, click on this button 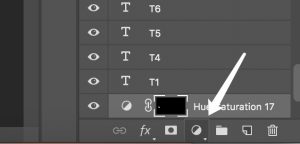 in the bottom right of your screen to ‘add a layer’
-Then click on Hue/ Saturation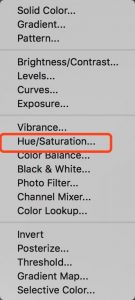
-Then on the Lightness scale, move it down to black.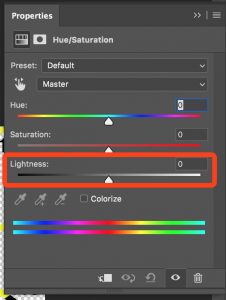
-You have now created a layer for a corner which can be turned off & on by using the ‘eye’ button
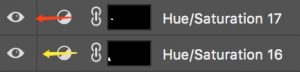
-Do this for all other corners, adding different layers for each.
Step 4.
-Add in the T1, T2, T3 etc. markings by clicking on the Text icon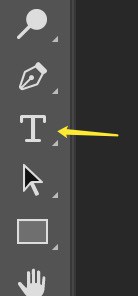
-This is fairly simple, each of these will be added as a separate layer automatically.
Note. The reason why you’re doing this is because you will turn on and off each layer 1 by 1 and save a separate image of each. If you have 1 layer with everything on it, it won’t help you.
-The idea is to create a flashing effect for the corners and to do this, you’ll be switching an image of a corner With the black highlight ON & then OFF very quickly.
Step 5.
-Save a .png image of the whole racetrack with all layers ON.
-It should look something like this:
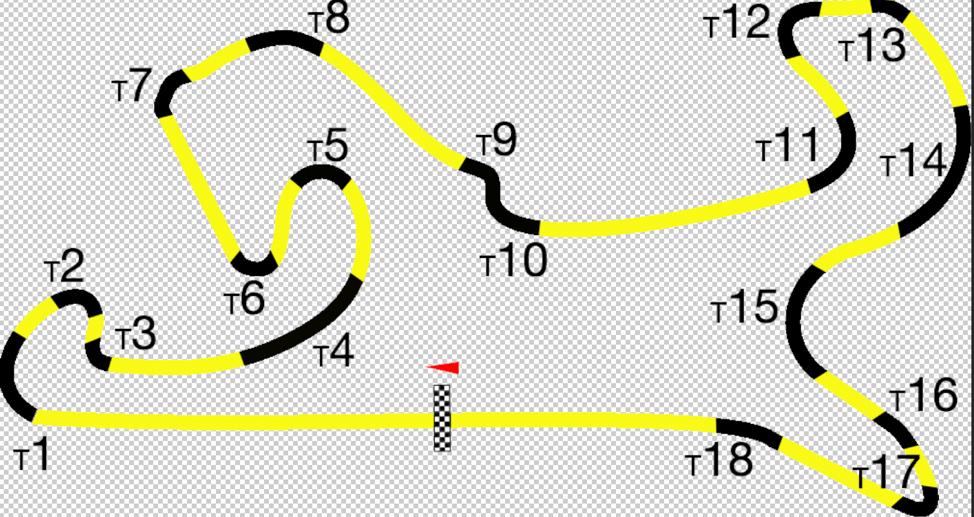
It should be a .png image rather than a .jpeg, because the .jpeg will give you a solid white background
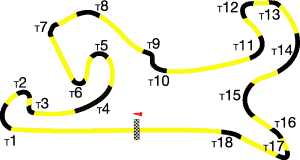
Understanding the difference with attributes between jpeg & png was important
This is what it looks like if you add a jpeg to your video
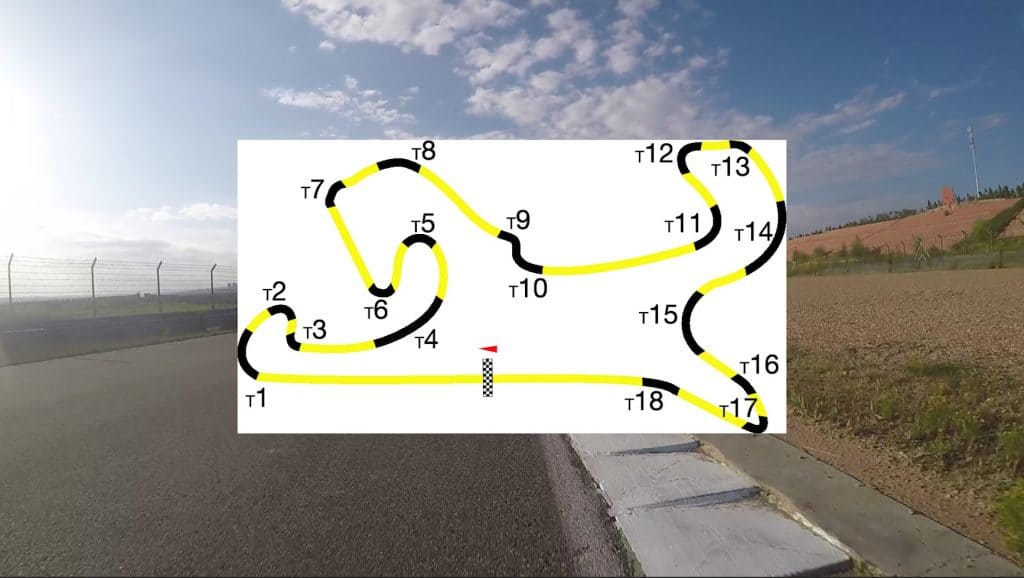
And this is what the .png looks like… which is what you want.
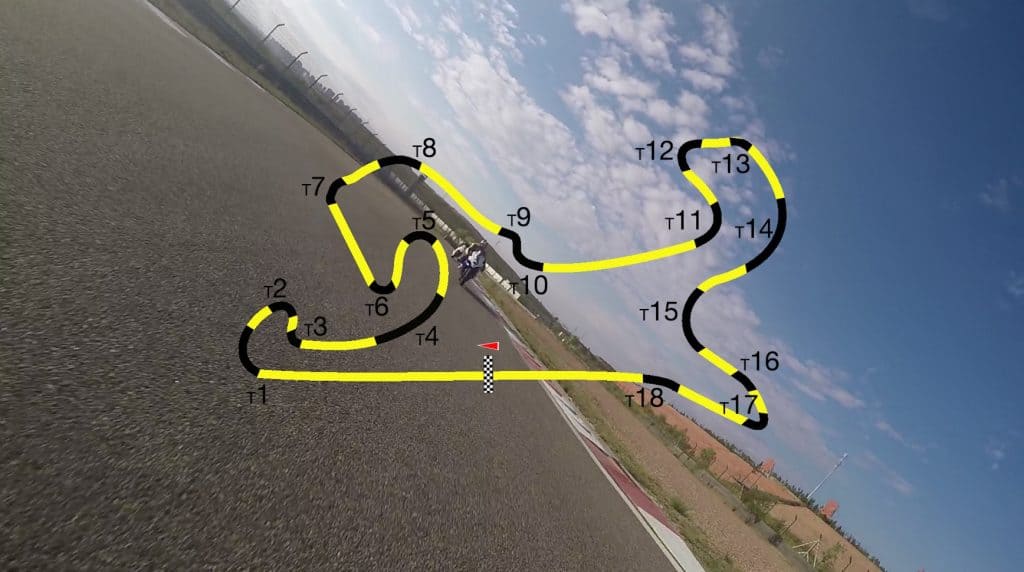
Step 6.
-Turn OFF all T1, 2, 3, etc layers. So you’re just left with the un-numbered track
-It should look like this in your view in Photoshop
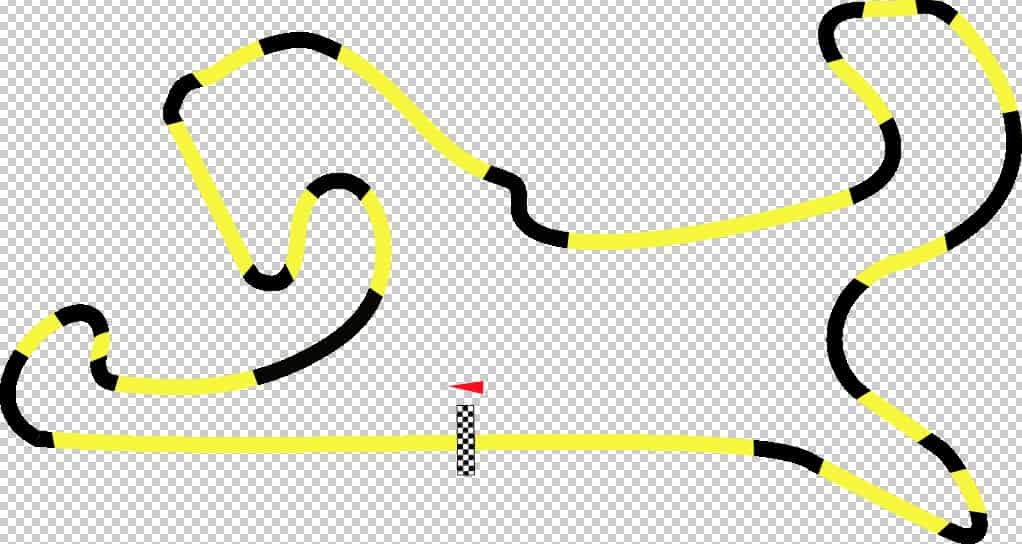
-Then 1 by 1 turn off each layer and save a .png image off it.
-Keep it all in a separate folder
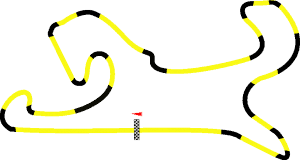
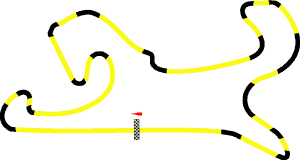
For instance this track has 18 turns, (although only 17 marked out, T9 T10 are combined) so you will have 17 individual pictures
Eg.
These are images of T1, T2, T4 ‘black highlight’ turned off.
Step 7.
Open up Adobe Premier Pro.
Follow these directions
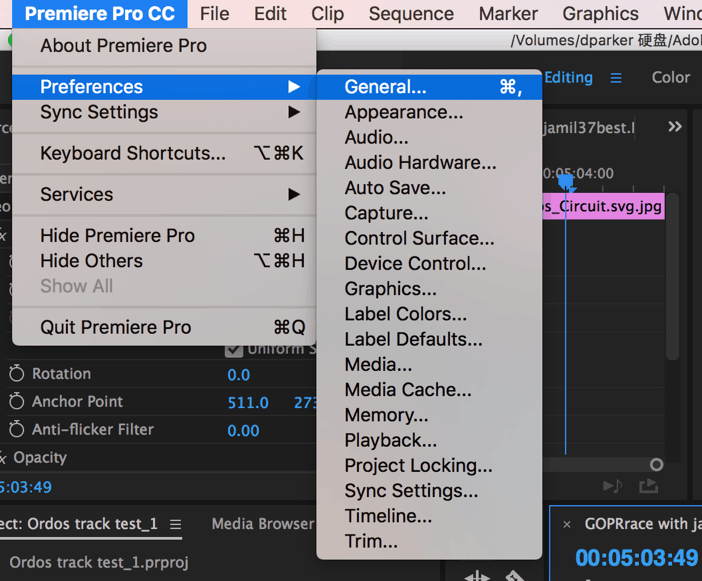
-Then you will see this menu.
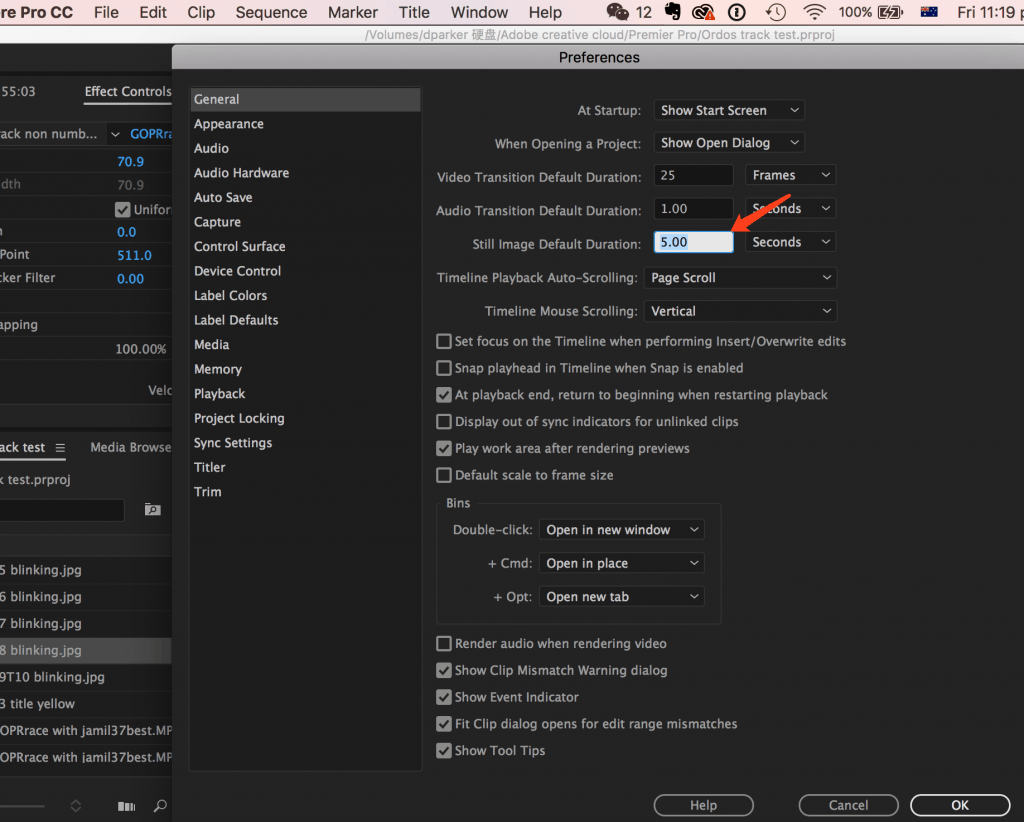
-Change the ‘Still Image Default Duration’ to a much smaller number. For myself I am working with 0.1 seconds.
-After clicking OK, all images added after this will be of this new duration… the images you already had however, will have the previous duration.
-If you have need these images the correct duration but they are already in your ‘imported media’, it is easier to clear the image and re-add them
Why are you doing this?
-If you’re going to do lots of these image changes and create this blinking effect, instead of changing the time/ speeding mapping 1 picture at a time, which is difficult & timely to get right each time it is easier to have them at the correct duration
-That way, if you’re going to put in multiple images & copy and paste them alternately, then the duration of the image is already good to go, and the video will look more professional because each image exactly conforms.
Step 8.
-Insert the first still image of the whole track with all ‘black highlighted’ corners (No Turn numbers)
-Position & size this 1st image
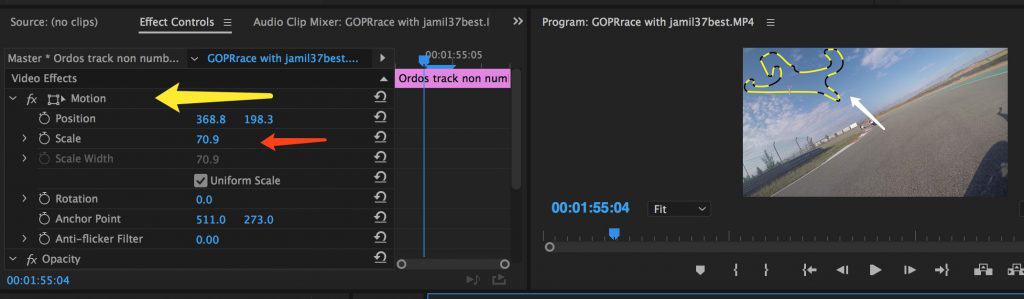
Click on Scale to get it to the right size.
Then click on Motion, to drag it to the correct location.
As shown with the White arrow.
Step 9.
-Insert your 2nd image, the T1 whatever image with the ‘black highlight’ layer turned OFF
-It will originally look like this.
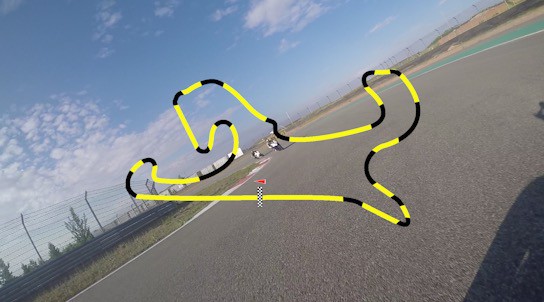
(this is for T3 image)
-now select your original image from step 8., right-click and select copy.
-Now select your 2nd image, right click and select Paste Attributes
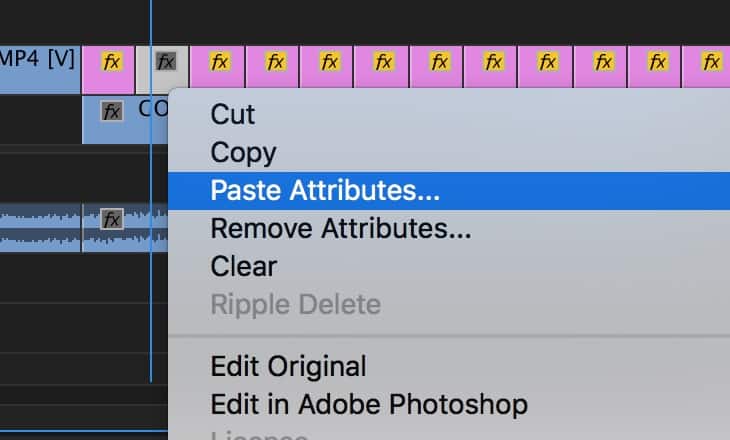
-Your 2nd image will now have all the same attributes, Motion & Scale as your 1st image.
Step 9.
-Select both image 1, and 2 and Copy them.
-Paste them for the entire length of your corner
Step 10.
-Add in the T1, T2, T3 whatever label afterwards.
Why? -Because your original image of the whole track with all the track numbers won’t be visible when you scale the image down to fit in the corner.
-Make sure when you add your T# titles, they are added on a video layer above the still images of the blinking race track
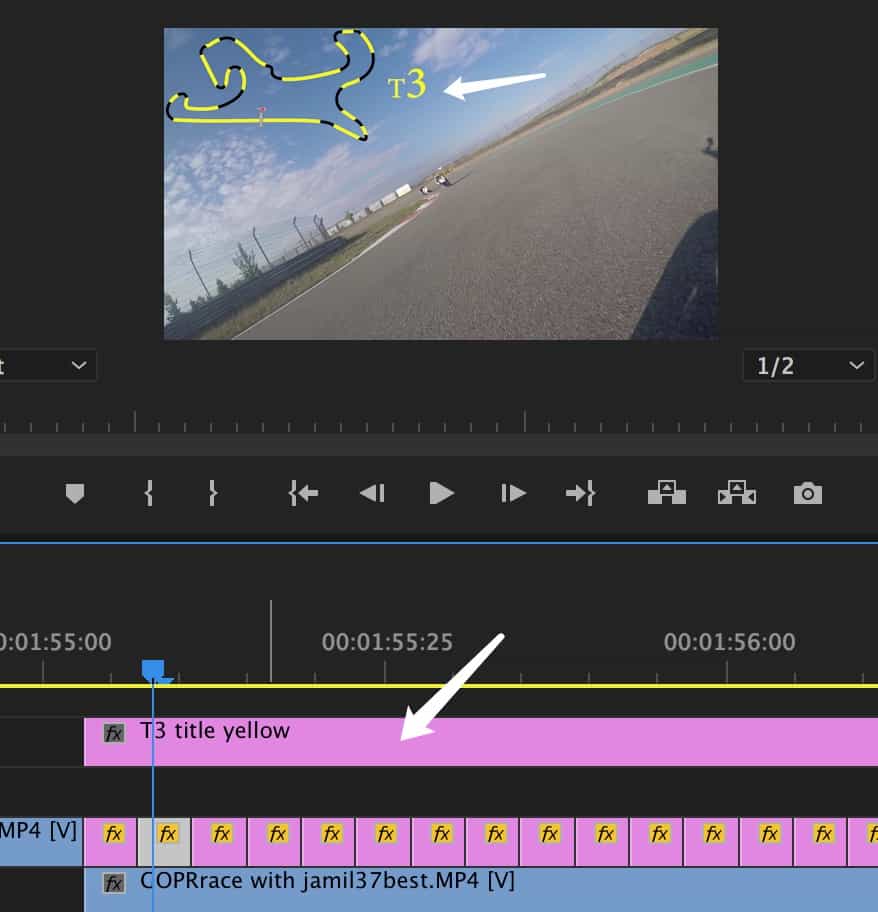
Otherwise it won’t be shown in the video.
-Extend this Title image to the full duration of the corner because this is a constant for the corner
Step 11.
-Repeat steps 9 & 10 for all of the corners you have.
-This is timely work but the result should be pretty good
-You already have your 1st image, so you just need to copy the attributes of that to your 3rd, 4th, 5th etc images and you’re good to go.
Step 12.
In between each corner, extend your 1st image (track with all black highlights) to the beginning of the next corner.
-That way you’ve always got the map in the top right/ left hand corner.
Step 13.
Add in your Full track, with all Turns marked at the start of your video, or just before the actual going around the track begins.
-Then use key frames to add both motion & scaling down to show it moving into place where it belongs at the top right or left hand corners
-Remember to note down your exact Position from your original 1st image + the scale. (In mine it is Position: 368.8, 198.3 Scale: 70.9)
See picture:
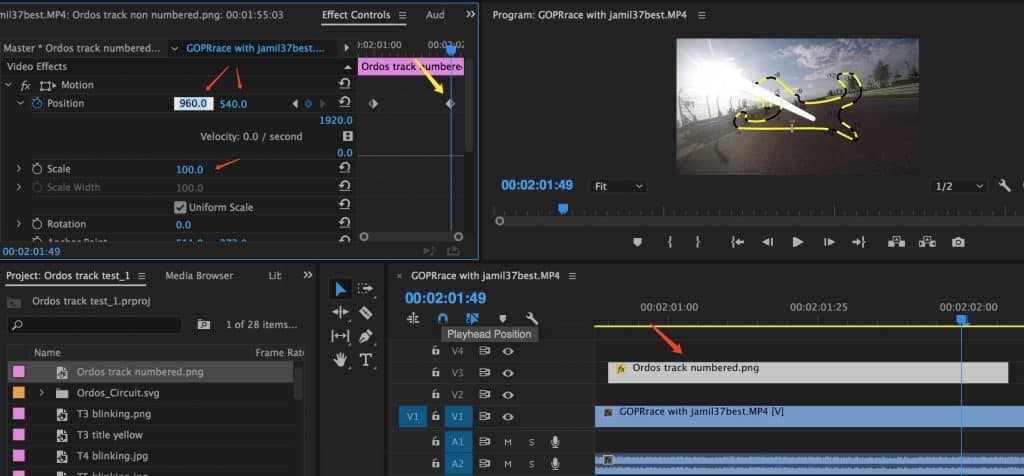
Add 1 key frame at the start of the clip, 1 near the end of clip.
-For the last key point, change your position & scale to your new settings (same for your 1st image)
See picture:
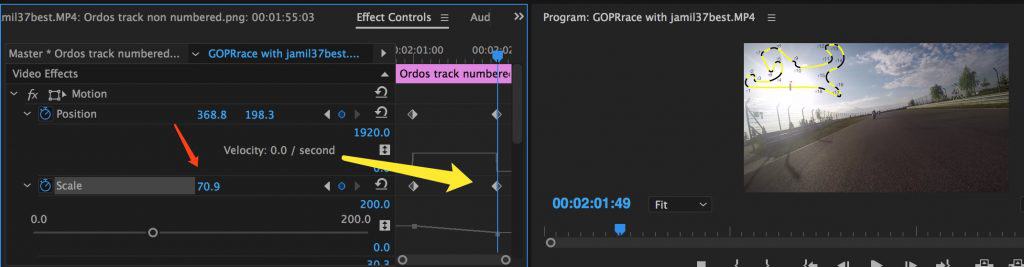
See explanatory video here, in case something is not clear here.
Still to be posted
Here’s a quick example video of the finished product for T3: (for whatever reason, it plays way faster than it should)
I will be posting my video of a race between a friend and his friend on my youtube channel soon, for which I’ll update this article and post it here soon.
It will feature the above skills/ whatever this is called.
Be on the lookout for it.




Recent Comments